When you are ready to build a blog-based website as the center of your art marketing system, it’s important to understand all of the parts of your site. Your blog header is a fundamental component of your overall design.
What is Your Artist Blog Header?
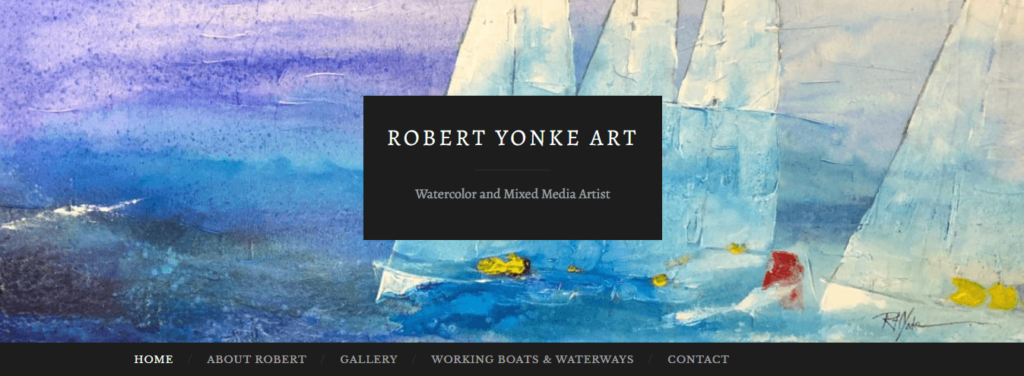
You’ll find the header at the topmost part of your site, introducing visitors to your site and establishing their first impression. It typically contains things like your name or logo and a navigation bar and usually remains the same throughout the website. Most platforms will give you the ability to customize your header one way or another. Below is an example of a simple header.
How to create or add a header to your site.
When creating your site, it’s important to understand how to make the best header, which is typically the first thing people see. For an artist, either the image itself will pop visually, or you can keep it simple to focus on the pictures lower on the page. Here are some links on working with your header for popular artist website platforms:
Best practices for setting up your site header.
Don’t overanalyze it too hard.
Make sure it is drawing in or grabbing attention.
If you are going with a solid header, use some expressive type not to be too boring.
Sliders can be used for rotating through different images.
Tools to help create your site header.
You may need to resize or want to create a custom graphic for your header. Canva is a good tool for this purpose.
Tiny PNG – You may want to compress an image so that it loads faster. Tiny PNG is a great tool for this purpose.
If you’d like more information on the basics of setting up your blog-based website, follow this Artist Blogging 101 Series or join my email newsletter.